
How to Set Up n8n Self-Hosted on a Raspberry Pi for Ultimate Automation
Are you looking for a powerful, yet affordable solution for automating your tasks? Setting up n8n self-hosted on a Raspberry Pi can be an excellent choice. This guide will walk you through the entire process, from installing necessary software to configuring n8n for optimal performance. By the end of this article, you’ll have a fully functional automation platform ready to streamline your workflows.
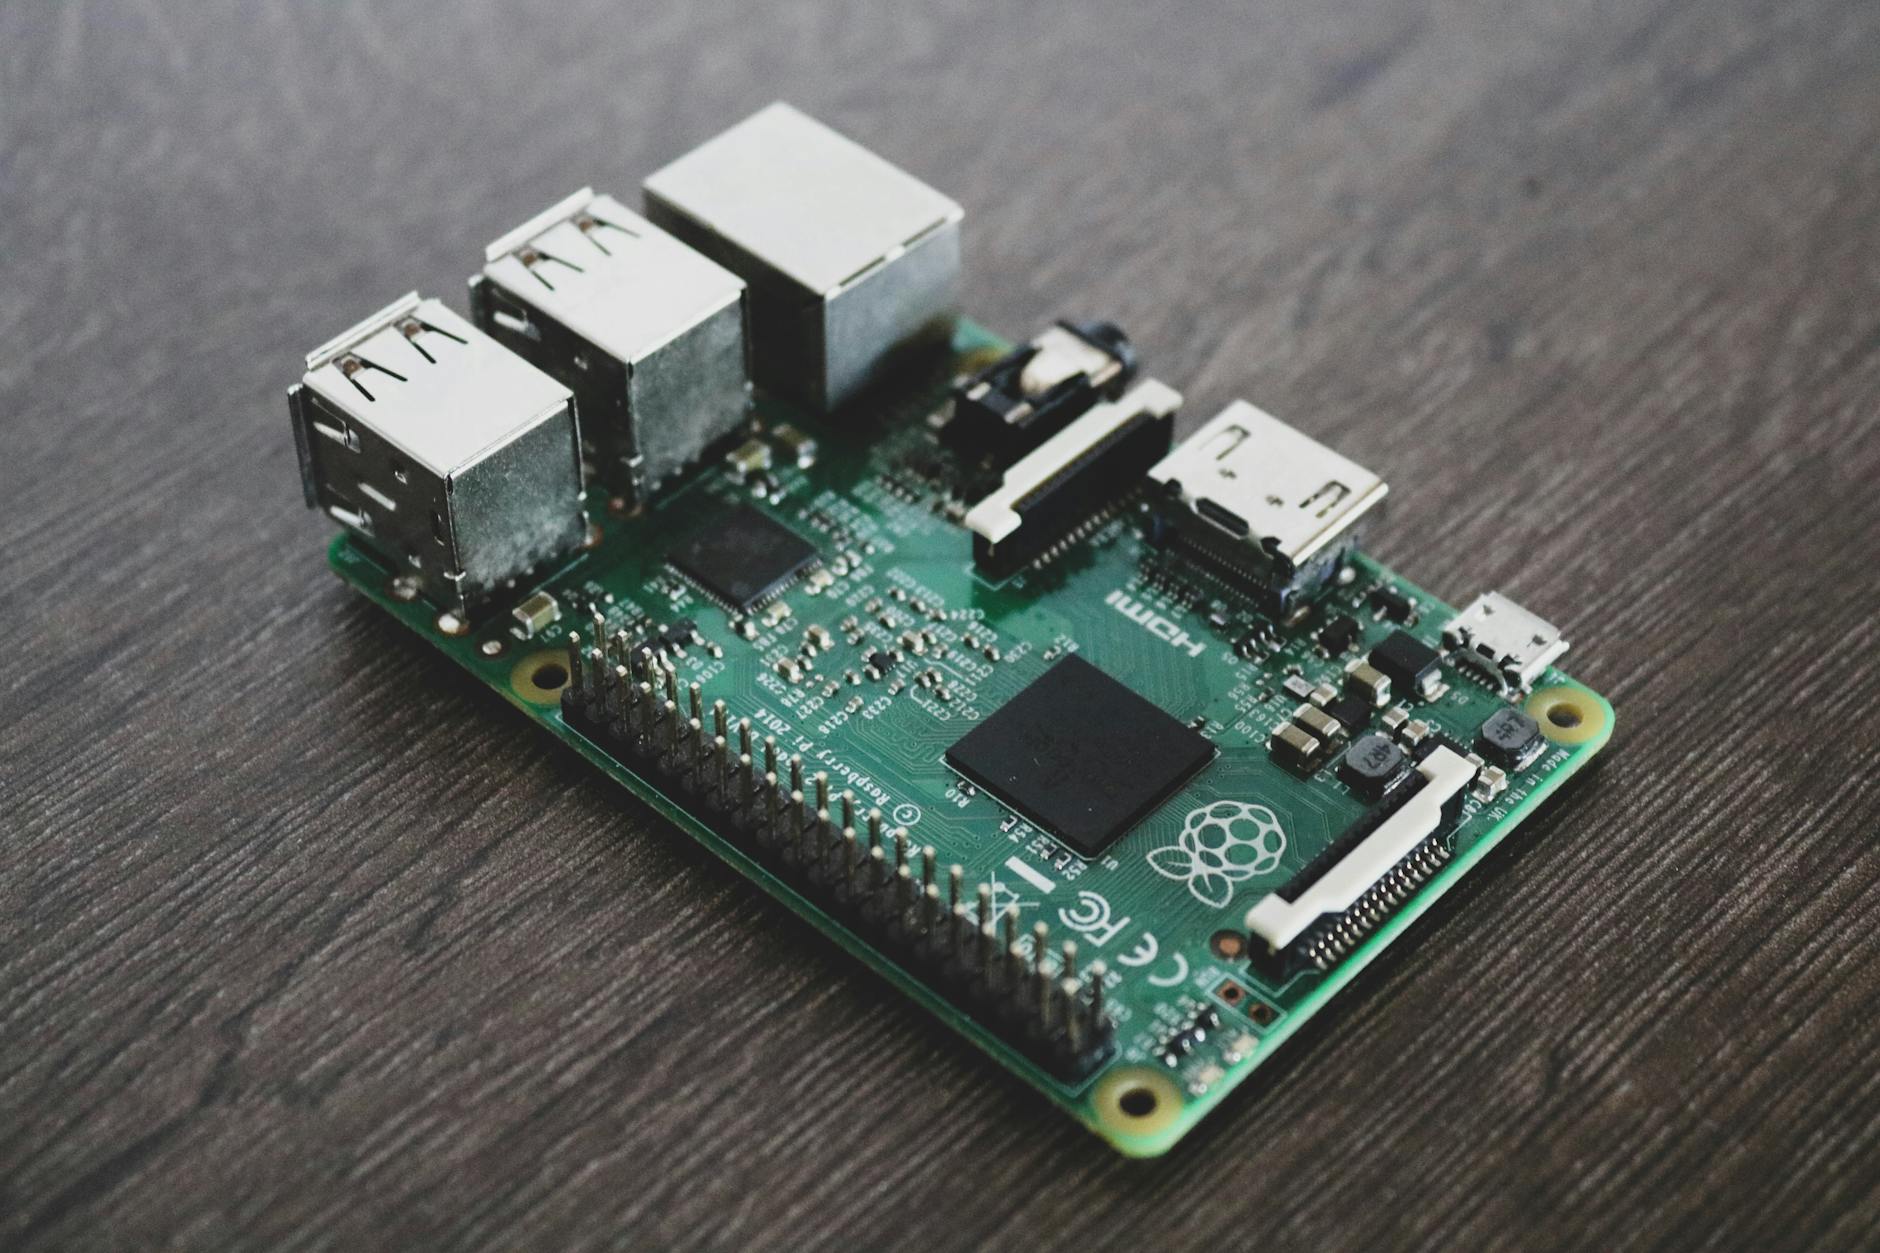
Why Use a Raspberry Pi?
The Raspberry Pi is an excellent choice for self-hosting n8n due to its low cost and compact size. It’s perfect for home use or small businesses looking to automate tasks without breaking the bank. With a Raspberry Pi, you can keep your automation infrastructure on-premises, ensuring complete control over your data.
Hardware Requirements
To get started, you’ll need:
– A Raspberry Pi 4 (recommended)
– MicroSD card with at least 8GB of storage
– Power supply (5V, 3A)
– Ethernet cable or Wi-Fi adapter
Setting Up the Raspberry Pi

Begin by installing the latest version of Raspberry Pi OS on your MicroSD card. You can download it from the official Raspberry Pi website. Once installed, boot up your Raspberry Pi and update all packages using the following commands:
sudo apt-get update
sudo apt-get upgrade
Installing n8n
n8n can be easily installed on your Raspberry Pi using Docker. Docker containers provide a lightweight and portable way to run applications, ensuring that dependencies are managed correctly.
- Create a directory for n8n:
- Pull the official n8n Docker image:
- Run n8n using Docker:
mkdir ~/n8n
cd ~/n8n
docker pull n8nio/n8n
docker run -d --name n8n -p 5678:5678 n8nio/n8n
Accessing the n8n Interface
Once n8n is running, you can access it by opening a web browser and navigating to http://localhost:5678. You should see the n8n login page. The default username and password are both “admin”. It’s highly recommended to change these credentials immediately for security reasons.
Configuring n8n
n8n offers a wide range of connectors and nodes, allowing you to automate almost any process. To get started, create a new workflow by clicking on the “+” icon. Drag and drop nodes from the left panel onto the canvas. Connect these nodes with lines to define the flow of your automation.
Example Workflow
Let’s create a simple example workflow that checks for new emails in your inbox and sends an SMS notification if you receive one:
- Add a Google Sheets node to fetch emails from your inbox.
- Add a Twilio node to send an SMS notification.
- Connect the two nodes with a line and configure them accordingly.
Conclusion
By following these steps, you’ve successfully set up n8n self-hosted on your Raspberry Pi. This setup allows you to automate tasks efficiently without any monthly fees or dependencies on third-party services. With its flexibility and low cost, n8n is an excellent choice for anyone looking to streamline their workflows.
Remember to regularly update n8n and monitor your system’s performance to ensure it remains stable and efficient. Happy automating!
Image by: Alessandro Oliverio