
N8N Self-Hosting Guide: Complete Setup from Zero to Production
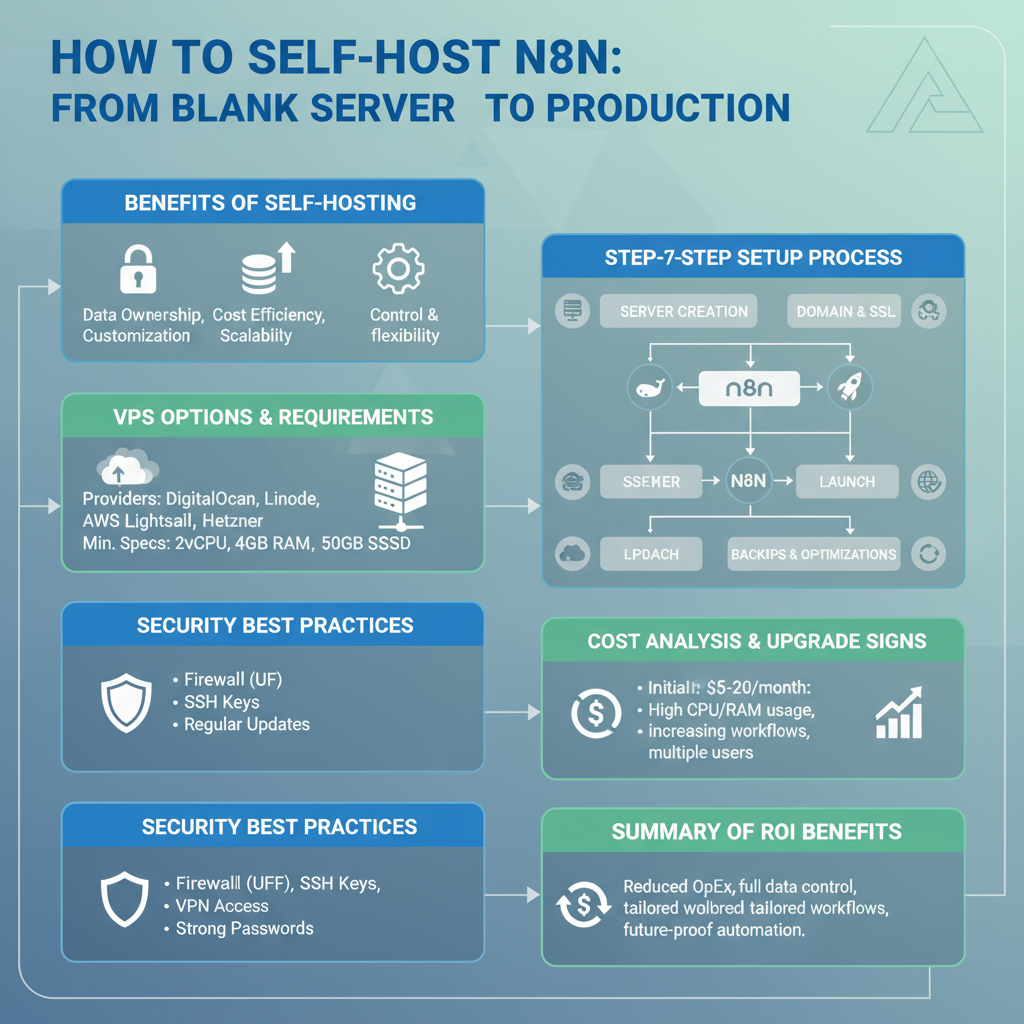
Self-hosting N8N gives you unlimited workflows, complete data control, and massive cost savings compared to cloud automation platforms. But the setup process intimidates many people. | self-host N8N I’ve deployed N8N for dozens of clients, and I’m going to walk you through the exact process I use—from a completely blank server to a secure, production-ready N8N instance. Why Self-Host N8N? Before we dive into technical details, let’s confirm this is right for you. Self-hosting makes sense if you: Stick with N8N Cloud or alternatives if you: Still here? Let’s build this. Choosing Your Server You need a Virtual Private Server (VPS). Here are proven options: DigitalOcean ($6-12/month): Best for beginners. Simple interface, great documentation, reliable performance. Recommended: Basic Droplet with 2GB RAM Hetzner ($5-8/month): Best value. European servers, excellent performance per dollar. Recommended: CX21 or CPX11 AWS Lightsail ($10-20/month): Best for enterprises already using AWS ecosystem. Recommended: 2GB instance Linode ($10-12/month): Solid middle ground. Good performance, responsive support. Recommended: Nanode 2GB For starting out, I recommend DigitalOcean. The rest of this guide assumes you’re using it, but the process is similar across providers. Server Requirements Minimum specifications: Don’t skimp on RAM. N8N with several workflows can consume 1-1.5GB easily. Step 1: Server Setup and Security Create your droplet/server with Ubuntu 22.04. Once it’s running, SSH in: First, update everything: Create a non-root user for security: Set up firewall: From now on, use the n8n user, not root. Step 2: Install Docker N8N runs best in Docker. It’s cleaner, easier to maintain, and simpler to upgrade. Install Docker: Log out and back in for group changes to take effect. Install Docker Compose: Verify installation: Step 3: Set Up N8N with Docker Compose Create a directory for N8N: Create a docker-compose.yml file: yaml Replace change_this_password with a strong password and your_domain.com with your actual domain (we’ll set this up next). Step 4: Domain and SSL Setup You need a domain name pointing to your server. Use Namecheap, Google Domains, or any registrar. Add an A record pointing to your server’s IP address. Install Nginx: Install Certbot for free SSL certificates: Create Nginx configuration for N8N: Add this configuration: nginx Enable the site: Get SSL certificate: Certbot will automatically configure SSL. Choose option 2 to redirect HTTP to HTTPS. Step 5: Launch N8N Start N8N: Check if it’s running: Visit https://your_domain.com in your browser. You should see the N8N login screen! Step 6: Configure Backups Never skip backups. N8N stores everything in ~/.n8n/, so back this up regularly. Create a backup script: bash Save as backup-n8n.sh, make executable: Schedule daily backups with cron: Add this line: This backs up daily at 2 AM, keeping the last 7 backups. Step 7: Production Optimizations Increase Docker Resources: Edit docker-compose.yml to add memory limits: yaml Enable Execution Data Pruning: Add to environment variables: yaml This deletes execution logs older than 7 days, preventing database bloat. Set Up Monitoring: Use Uptime Robot or similar to monitor your N8N instance and alert you if it goes down. Step 8: Updating N8N When new versions release: Always check the N8N changelog for breaking changes before updating. Troubleshooting Common Issues N8N won’t start: Check logs: docker-compose logs n8n Webhooks not working: Verify WEBHOOK_URL is set correctly in docker-compose.yml Out of memory errors: Upgrade to a server with more RAM or optimize workflows SSL certificate renewal fails: Ensure ports 80 and 443 are open and Nginx is running Can’t access N8N: Check firewall: sudo ufw status Verify Nginx is running: sudo systemctl status nginx Security Best Practices Change default passwords immediately Enable two-factor authentication if using N8N’s user management Regularly update both N8N and the underlying server Restrict SSH access to specific IP addresses if possible Monitor logs for unusual activity Use strong encryption keys for N8N’s encryption features Advanced: Multi-User Setup For teams, set up proper user management: yaml This enables N8N’s built-in user management system. Cost Breakdown Monthly costs for self-hosted N8N: Compare to cloud platforms charging $50-200+ for similar workflow volumes. When to Upgrade Your Server Upgrade if you experience: Simply resize your server in your hosting dashboard—most providers allow this with minimal downtime. The Bottom Line Self-hosting N8N requires initial time investment, but the payoff is substantial. You get unlimited automation power at a fraction of cloud platform costs. The process looks long in this guide, but actual setup time is 1-2 hours. Ongoing maintenance is minimal—maybe 30 minutes monthly for updates. If you handle sensitive data or run heavy automation, self-hosting isn’t just cheaper—it’s better. Ready to take control of your automation infrastructure? Start today.